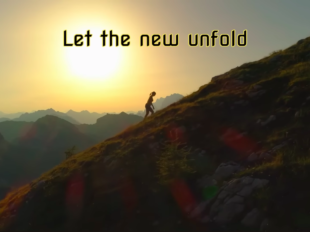
Fans have been falling in love with ‘Skeeter Davis – The End of the World‘ by Tom Kuzmich so we did a case study to understand why. 1. High-quality visuals and artistic cinematography Fans...


Fans have been falling in love with ‘Skeeter Davis – The End of the World‘ by Tom Kuzmich so we did a case study to understand why. 1. High-quality visuals and artistic cinematography Fans...

The Violín for Peace YouTube channel has been receiving a lot of buzz lately so we did a case study to understand why fans are falling in love with the channel. 1. Soulful blend of emotion and...

Everyone has been going crazy for ‘Blue Christmas‘ by Tom Kuzmich so we did a case study to understand why. 1. Nostalgic Christmas Emotions Tom Kuzmich’s Christmas video resonates because it...

As 2025 draws to a close, the musical landscape shifts toward reflection, and Kate Jaconello’s “Sunset” emerges as the definitive anthem for this transition. A masterful blend of...

Fans have been falling in love with ‘Island Christmas‘ by Ray Grant so we did a case study to understand why. 1. Tropical Escape In a genre dominated by songs about snow, sleighs, and winter...

Fans have been going crazy for “Christmas Day” by Gabby B so we did a case study to understand why. 1. Upbeat Energy The song is not a slow ballad but possesses a mid-to-fast tempo with a driving...

Everyone has been going crazy for ‘All The Music‘ by Ray Grant so we did a case study to understand why. 1. Fresh Sound Energy Ray Grant’s latest track hooks instantly with its lively, modern...

Tom Kuzmich turns every song into a cinematic experience where music and visuals move as one. His videos blend emotion, rhythm, and nostalgia, creating viral art that feels timeless. Here are a few...

Fans have been falling in love with ‘THE GROUND‘ by Janosch Moldau so we did a case study to understand why. 1. A Minimalist Concept with Maximum Impact Instead of using elaborate sets or...

Tom Kuzmich doesn’t just create videos, he paints it with light and sound. His videos flow with rhythm, symbolism, and emotion, turning everyday moments into something that feels like poetry on...